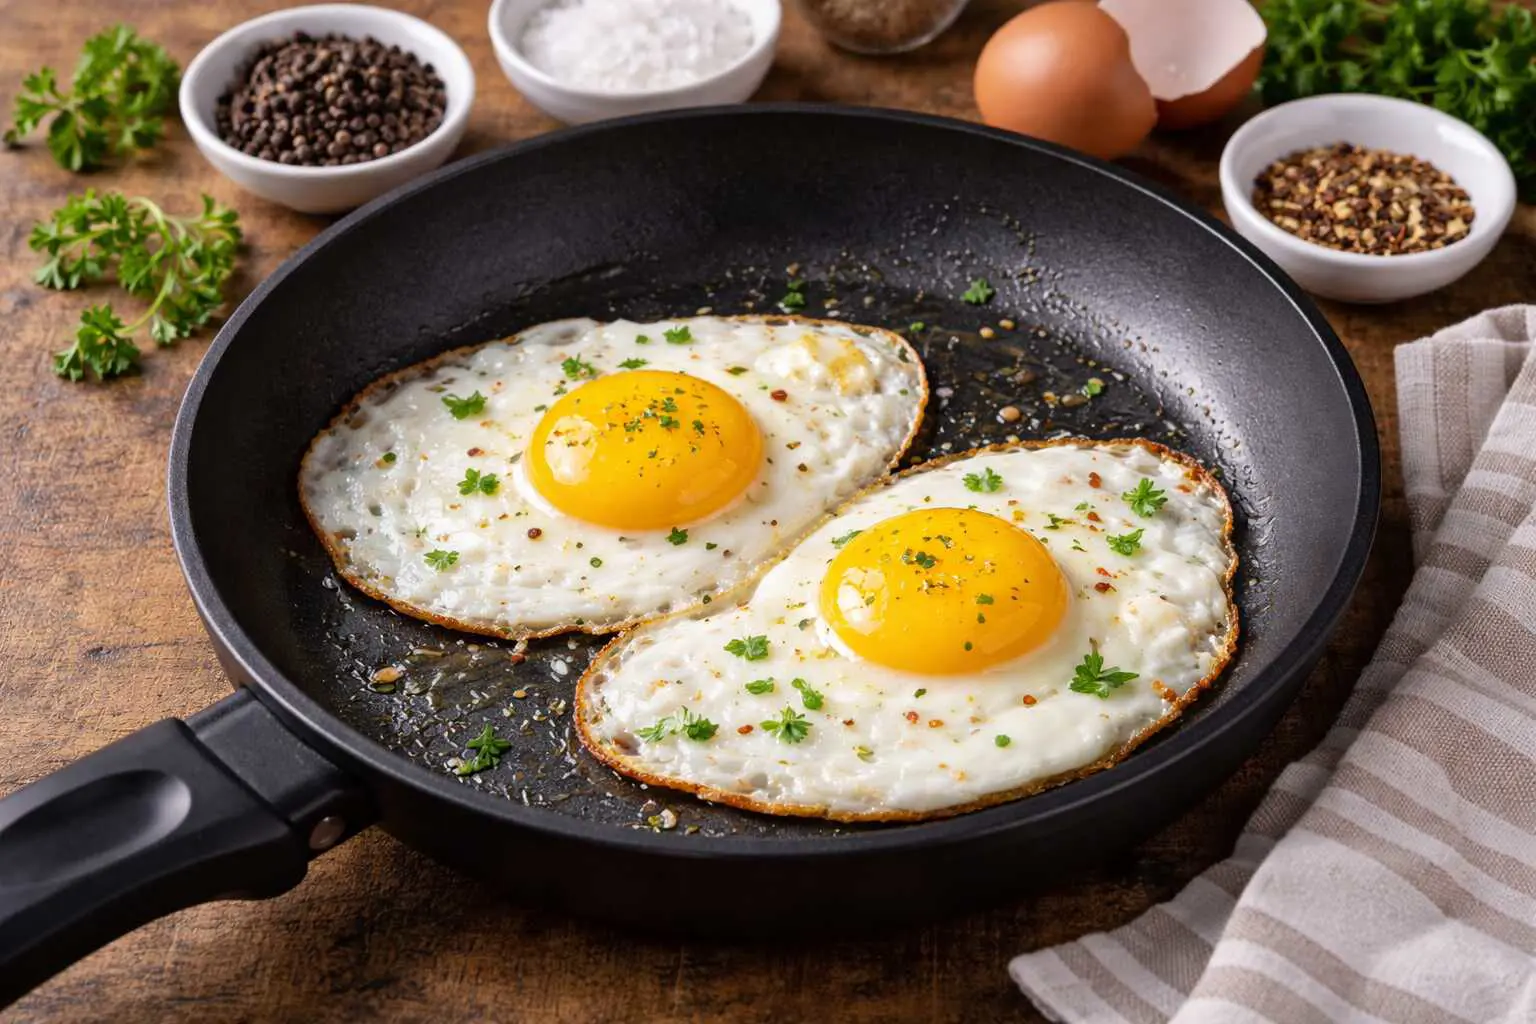
Sunny side up eggs are a breakfast favorite loved for their rich, runny yolks and tender whites. This classic preparation may look simple, but getting it perfectly cooked requires a little technique and patience.
Sunny side up eggs are eggs that are fried on one side only. Unlike over-easy or over-medium eggs, they are not flipped during cooking, keeping the yolk fully visible and runny. The whites are set, while the yolk remains soft and slightly thickened. The name comes from the bright, sunny appearance of the yolk on top, which makes breakfast visually appealing as well as delicious.
In this guide, we’ll walk you through everything from selecting the right eggs to cooking tips, seasoning ideas, and serving suggestions. By the end, you’ll be able to make eggs that are restaurant-quality right at home.
Ingredients You Will Need
To make perfect sunny side up eggs, you don’t need many ingredients. Here’s a simple list:
-
2 fresh eggs (preferably organic or free-range)
-
1–2 teaspoons butter or oil (olive oil, vegetable oil, or ghee)
-
Salt to taste
-
Freshly ground black pepper (optional)
Optional toppings:
Using fresh eggs is key because fresher eggs hold their shape better and create a bright, centered yolk.
Choosing the Right Pan
The right pan can make all the difference. A non-stick skillet or well-seasoned cast-iron pan is ideal for sunny side up eggs because it prevents sticking and allows gentle heat distribution. Avoid using pans that conduct heat unevenly, as this can result in overcooked whites or broken yolks.
Step-by-Step Guide to Cooking Sunny Side Up Eggs
Here’s the simplest way to make sunny side up eggs:
Step 1: Heat the Pan
Place your skillet on medium-low heat and add butter or oil. Allow it to melt and coat the pan evenly. Avoid overheating; high heat can cook the whites too fast and leave the yolk undercooked.
Step 2: Crack the Eggs
Gently crack the eggs into a small bowl one at a time. This prevents shells from getting into the pan and makes it easier to place the eggs gently in the skillet.
Step 3: Cook the Eggs Slowly
Slide the eggs carefully into the pan. Reduce the heat to low, and let the eggs cook slowly. This ensures the whites set evenly without browning too much, while the yolk stays runny.
Step 4: Cover the Pan (Optional)
For slightly firmer whites, you can cover the pan with a lid for 1–2 minutes. This traps heat and steam, cooking the tops of the whites without flipping the egg.
Step 5: Season and Serve
Sprinkle a pinch of salt and pepper over the eggs. You can also add your favorite toppings like herbs, cheese, or spices. Carefully slide the eggs onto a plate using a spatula.
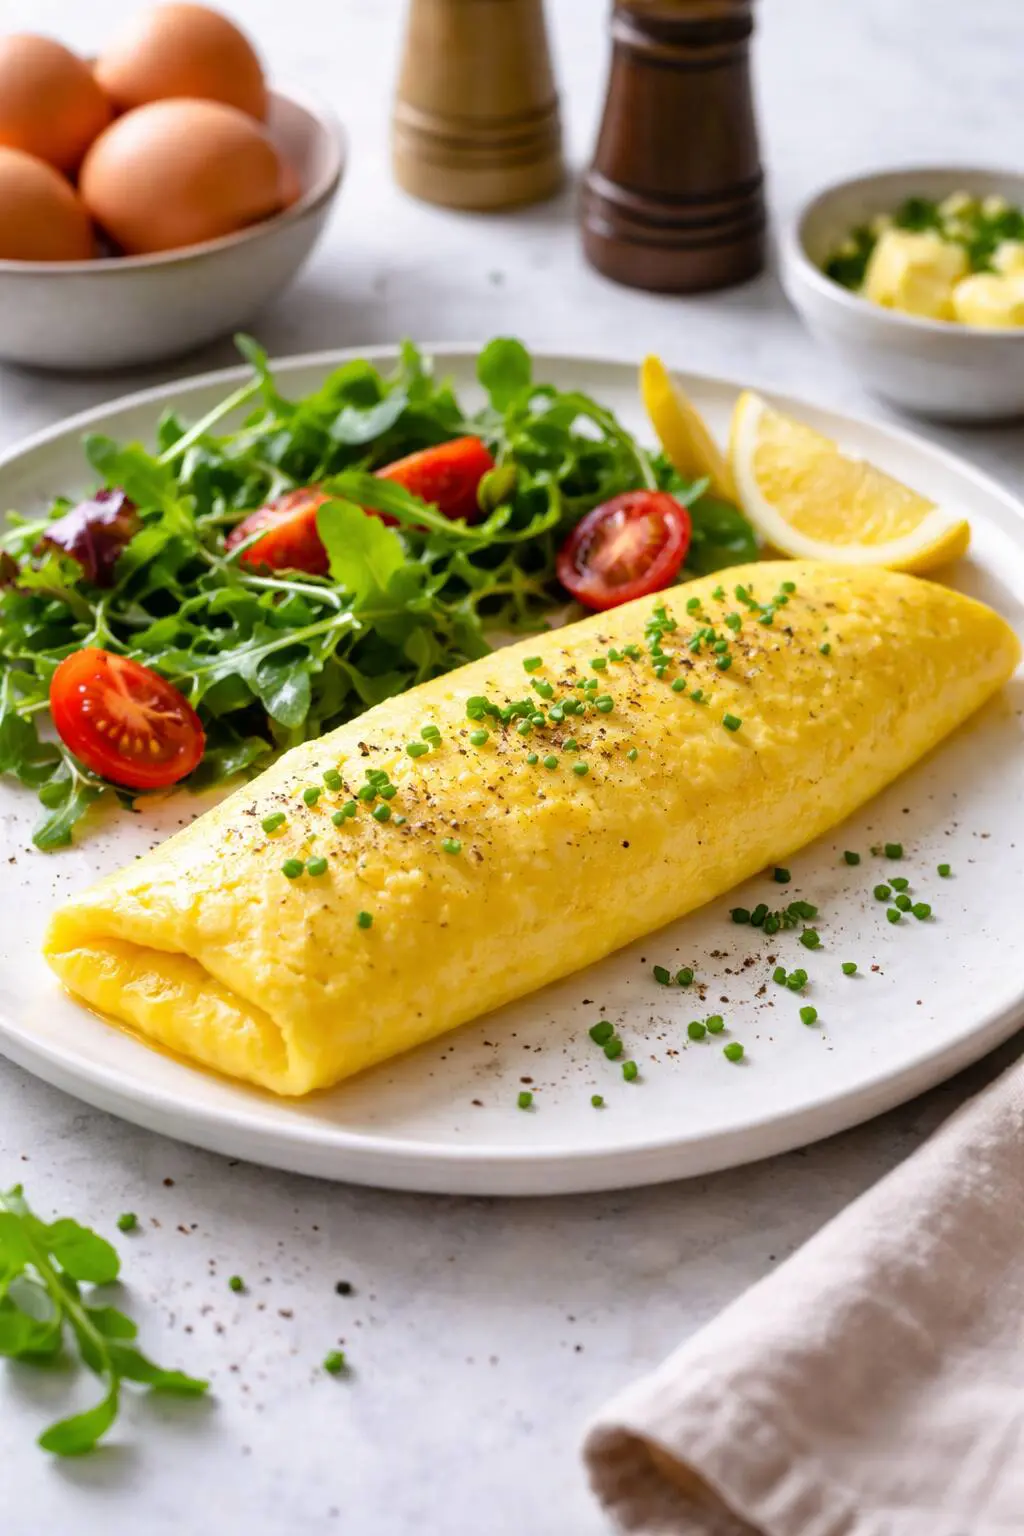
Serving Ideas for Sunny Side Up Eggs
Sunny side up eggs are incredibly versatile and can be enjoyed in many ways:
-
Classic breakfast plate: Serve with toast, bacon, or sausage.
-
On avocado toast: Place the egg over mashed avocado for a nutritious breakfast.
-
Over rice or noodles: A runny yolk makes a creamy sauce for Asian-style dishes.
-
With sautéed vegetables: Adds protein to a veggie-rich meal.
-
Breakfast sandwich: Add a fried egg to bread or bagels with cheese and greens.
The rich, creamy yolk complements almost any dish, making sunny side up eggs a simple yet gourmet option.
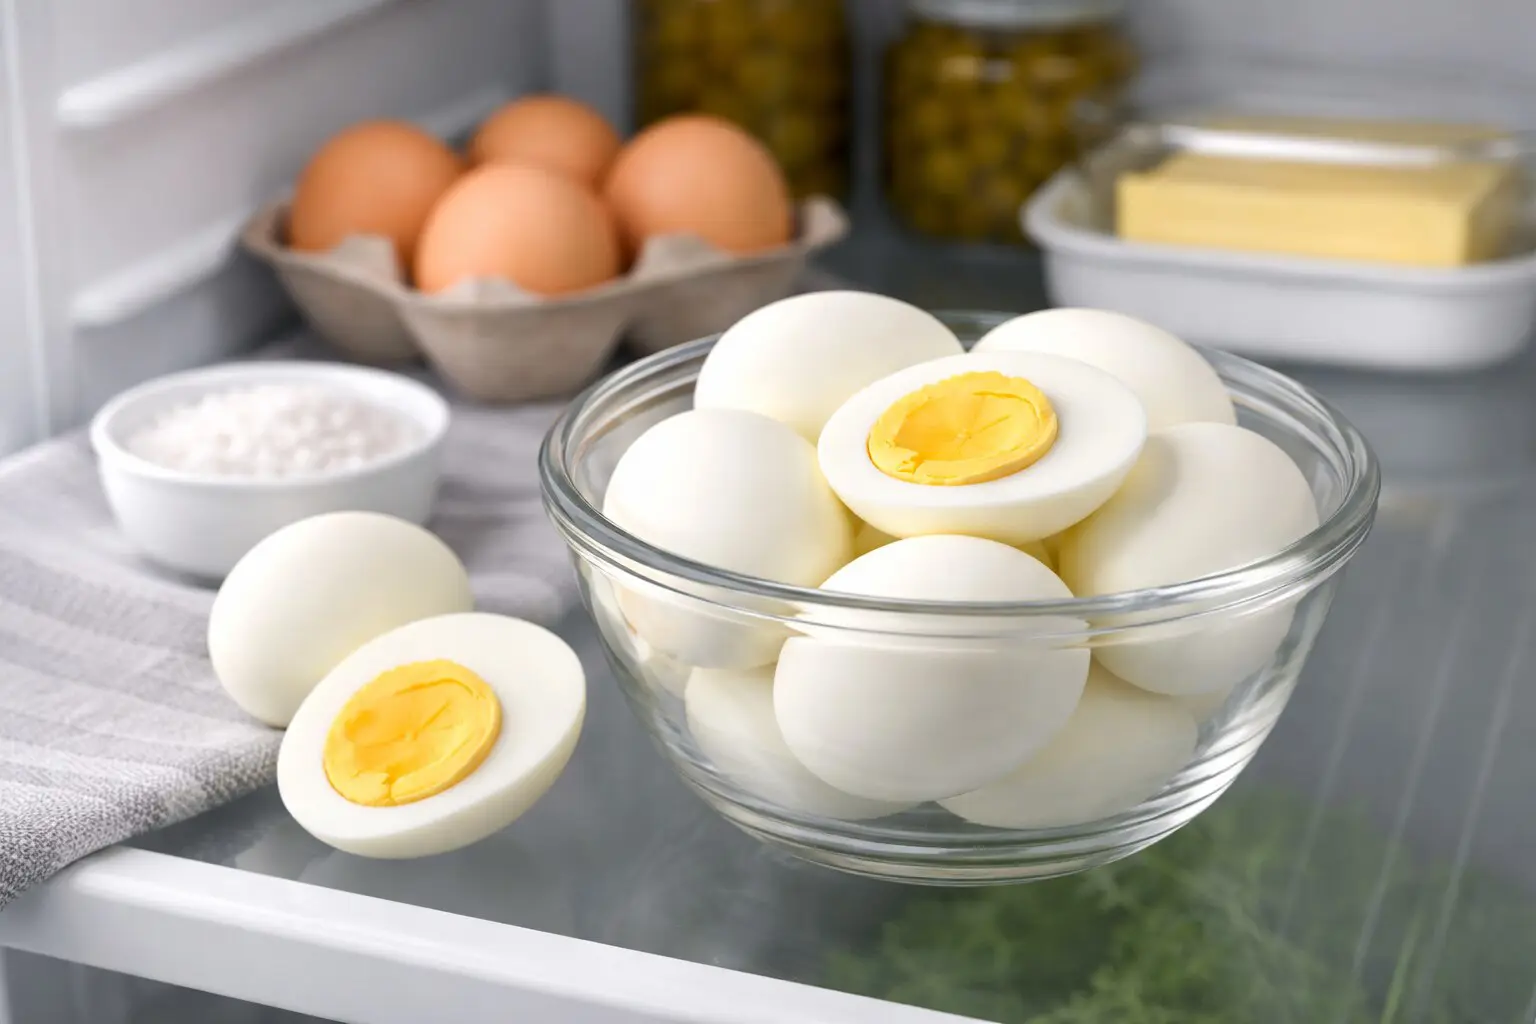
Storing and Reheating Sunny Side Up Eggs
Sunny side up eggs are best enjoyed fresh, but if needed, they can be stored in the refrigerator for up to 24 hours. Reheat gently in a non-stick pan over low heat or in a microwave at 50% power for 20–30 seconds. Avoid reheating at high temperatures, as this can overcook the yolk and make it rubbery.
Health Benefits of Sunny Side Up Eggs
Eggs are a nutrient-dense food and provide multiple health benefits:
-
High-quality protein: Helps with muscle repair and growth.
-
Vitamins: Rich in B12, D, and A for overall health.
-
Healthy fats: The yolk contains essential fatty acids and antioxidants.
-
Choline: Supports brain function and liver health.
Cooking eggs sunny side up preserves most of their nutrients, especially the delicate vitamins in the yolk that can degrade under high heat.
Conclusion
Making sunny side up eggs may seem simple, but perfecting the technique takes practice and attention to detail. From choosing fresh eggs and a good pan to slow-cooking and seasoning, every step contributes to a visually stunning and delicious breakfast. With this guide, you can enjoy restaurant-quality sunny side up eggs at home every day.
Whether you serve them on toast, over rice, or in a breakfast sandwich, sunny side up eggs are a timeless favorite that combines simplicity, nutrition, and elegance on a plate.